


How to Install The Godox KNOWLED P600Bi
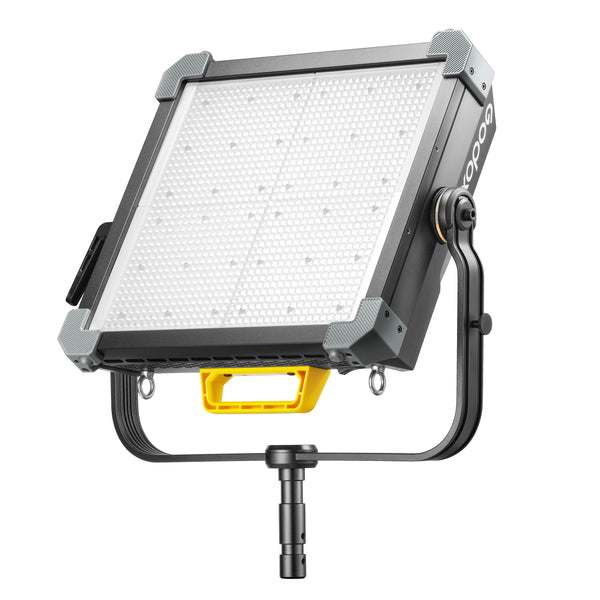
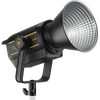
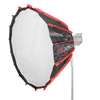
The new Godox P600Bi Hard Bi-colour LED light panel is designed with powerful features and capabilities, including an input power of 700W, a 100V-240V AC power supply, ultra-hight and thousand-bit adjustable brightness, four dimming curves, a wide CCT range from 2800K to 6500K, average CRI and TLCL values above 96, multiple wireless controlling options, and more. It is a valuable lighting solution for shooting scenes in large film studios, broadcast studios, outdoor exteriors, and larger field scenes.
Here is the instruction manual on how to install the Godox P600Bi.
To learn more about the Godox P600Bi, please click on this link: Godox KNOWLED P600Bi Hard LED Video Panel: Pro Light for Film.
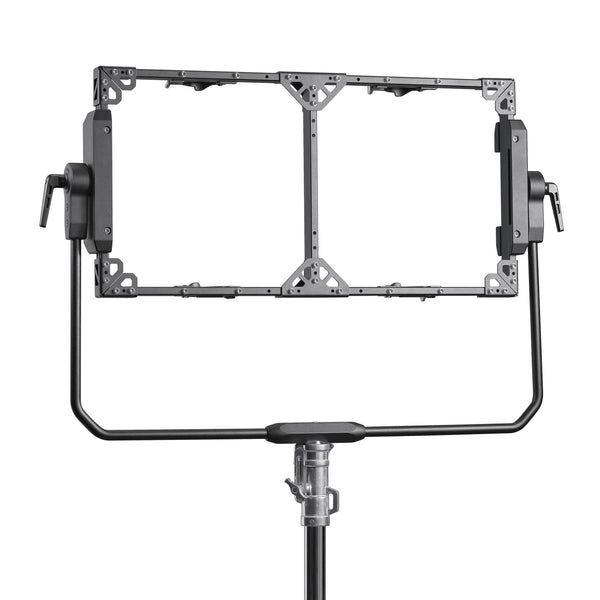
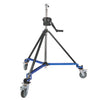
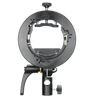
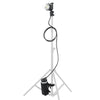
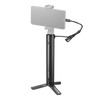
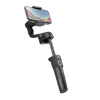
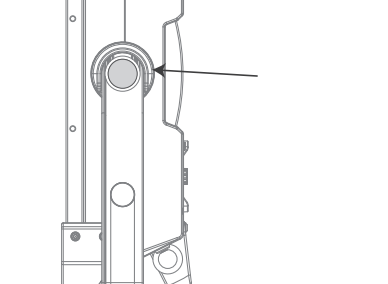
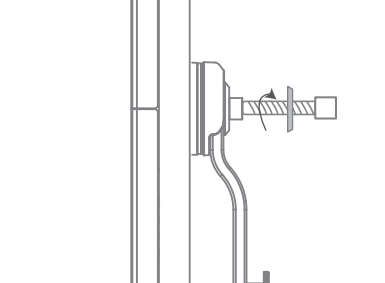
Step 1: Attach the U-type bracket
 |
 |
 |
Set 2: Set up to operate
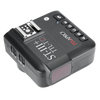
To switch to CCT mode, briefly push the MODE button. Then, short press the adjust dial to switch between the colour temperature and brightness setting interfaces.
CCT mode:
- In the brightness setting interface, turn the adjust dial to adjust the brightness ratio from 0% to 10%. The value can be increased by 0.1 unit by rotating the adjust dial clockwise once and decreased by 0.1 unit by moving it anticlockwise once. A fast rotation is used for quick changes.
- In the colour temperature setting interface, turn the adjust dial to adjust the colour temperature from 2800K to 6500K. A single clockwise rotation of the adjust dial can raise the value by 100 units. A quick rotation can also be used for quick adjustments.
FX mode:
To switch to FX mode, short press the MODE button. Simply turn the adjust dial to choose from the following effects: flash lighting, cloudy, broken bulb, TV, candle, fire, fireworks, explosion, welding, and SOS. Once you have chosen the effect you want, quickly click the adjust dial to bring up the effect setting interface. You may also quickly press the MODE button to return to the previous menu.
Menu Settings:
To access menu settings, quickly press the MENU button. Then, rotate the adjust dial to choose from the following options: DMX, CRMX, Bluetooth, wireless, dimming curves, fan, display, language, version & upgrade, factory reset, and fixture info.
Firmware Upgrade:
1. Visit the official website (https://www.godox.com/firmware-continuous-light) to download the latest firmware for the U disc.
2. Turn off the device. Insert the U dish with the new firmware into the Type-A USB port.
3. As soon as you turn on the device, the updating interface will open automatically.
4. When it’s finished, it will go back to the main interface.
Notes:
- The latest firmware must be downloaded from the official website, and the USB dish's root directory should only contain one BIN file.
- The maximum output voltage and current that the Type-A USB port can handle is 5V/2A/ Do not connect to over-rated USB device.
 |
Lock Setting Short press the LOCK button. When the lock icon appears on the screen, it means that the Godox LED panel is locked. Short press again to unlock. |
|
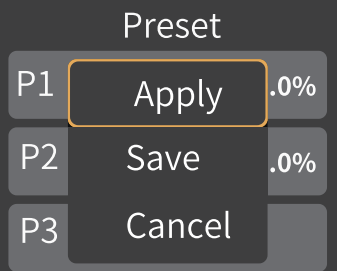
Preset Setting Short press the PRESET button to access the prest effects interface. To select and enter preset effects 1 through 20, rotate the adjust dial and short press it. Then, short press to select Apply, Save, or Cancel. Next, short press the adjust dial to return to the previous menu, and short press the PRESET button to end the session. |
 |
Limited Power Mode:
Press and hold the adjust dial, then toggle the power switch button, or press and hold the adjust dial, then connect to a 48V DC power source. After entering limited power mode, the Godox LED light panel can be set to run at 20%, 40%, 60%, 80%, or 100% of its maximum power.
Maintenance:
-
This product is covered by a one-year guarantee, excluding consumables.
- The warranty will be voided by unauthorised service.
- Maintenance of the light must be performed by our authorised maintenance department, which can provide genuine accessories.
- If the product has failed or has been immersed in water, do not use it until it is fixed by professionals.
- Shoot down the device immediately should an abnormal operation be detected.
- Changes made to specifications or designs may not be reflected in this manual.
Illumination Data:
| CCT | Test Condition | Unit | 1m | 3m | 5m | 7m | 9m |
|
2800
|
Godox P600Bi LED Panel (Bare Light)
|
lux | 80700 | 9810 | 3680 | 2010 | 1290 |
| fc | 7500 | 911 | 342 | 187 | 120 | ||
|
3200
|
lux | 84900 | 10300 | 3900 | 2110 | 1360 | |
| fc | 7890 | 960 | 362 | 196 | 127 | ||
|
4300
|
lux | 88900 | 10700 | 4060 | 220 | 1420 | |
| fc | 8260 | 997 | 377 | 204 | 132 | ||
|
5600
|
lux | 93800 | 11400 | 4300 | 2330 | 1500 | |
| fc | 8720 | 1060 | 400 | 216 | 139 | ||
|
6500
|
lux | 94200 | 11600 | 4370 | 2380 | 130 | |
| fc | 8750 | 1080 | 406 | 221 | 142 |
Specifications:
| Brand | Godox |
| Model | P600Bi LED Panel |
| Price | £1,122.00 |
| Power Supply |
100V-240V~50/60Hz 7A
|
| Max. Power | 700W |
| CCT Range | 2800K-6500K |
| Brightness Range | 0%-100% |
| Beam Angle | 60° |
| Dimming Curves |
linear, S-curve, exponential, logarithmic
|
| FX Modes | 11 |
| CRI | ≥96 |
| TLCI | ≥96 |
| Controlling Methods |
DMX 512 Control(support RDM protocol)/LumenRadio CRMX Control /2.4G Wireless Control/Bluetooth APP Control/Light Body Control
|
| Bluetooth Controlling Distance | Max. 30m |
| 2.4G Remote Controlling Distance | Max. 100m |
| Type-A USB Port |
Firmware Upgrade/5V 2A Power Supply
|
| Dimension(U-type Bracket is included in the light body) |
571mm x 499mm x 121mm
|
| Net Weight≈ | 10kg |
Tags: Godox Knowled series, Godox LED light